
 English

A Seal Leak Is a Symptom; Classify It Before Touching the Pump
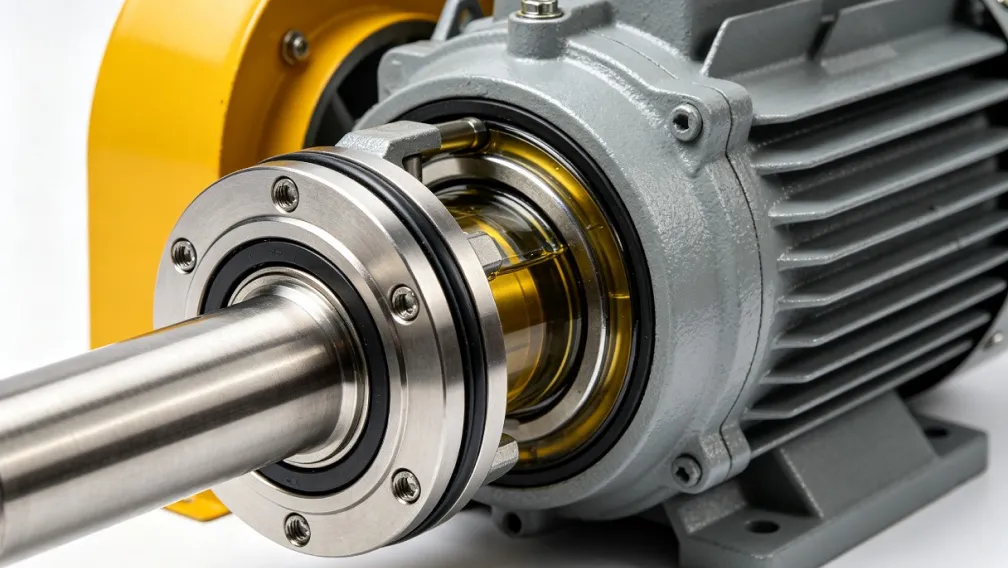
Mechanical seals rarely fail without a reason that can be named, and the leak itself carries most of the diagnostic information. Before any wrench comes out, record three things: when the leak happens (only at startup, continuously while running, only after shutdown, or intermittently), how much leaks (a vapor haze and occasional wetness, a steady drip, or a stream), and where it appears (at the gland plate, along the shaft sleeve, or from the drain port of a quenched arrangement). Each combination points at a short list of causes, and skipping this classification step is how plants end up replacing three seals before finding the real fault. This guide works through the six causes that account for most mechanical seal leaks on chemical pumps, then gives the step-by-step procedure for a repair that stays repaired.
Safety First: The Fluid Defines the Procedure
A leaking seal on a chemical pump means hazardous fluid is already escaping, so containment comes before diagnosis. Isolate and lock out the pump electrically, close the suction and discharge valves, drain and flush the casing before opening anything, and wear the PPE the fluid demands: acid-resistant gloves, face shield, and respiratory protection where vapors are present. Never tighten gland bolts on a running pump in an attempt to squeeze a leak shut; a mechanical seal is not a stuffing box, and uneven gland torque makes the leak worse and cracks faces. If the leaked fluid has entered a secondary containment area, treat the area as contaminated until it is cleaned.
Cause 1: The Seal Was Damaged Going In
A large share of leaking seals were never given a chance. Installation damage takes repeatable forms: lapped faces touched with bare fingers or wiped with a dirty rag, an O-ring rolled over a sharp keyway or thread and cut, gland bolts tightened unevenly so the stationary face sits cocked, the installation dimension missed so the faces are over-compressed or under-compressed, or set screws torqued onto a soft shaft so the sleeve creeps afterward. The signature is a leak that starts immediately at commissioning or directly after a seal change, often a steady drip regardless of operating conditions. The confirming evidence is found on disassembly: the wear pattern on the faces is uneven or nonexistent, and the damage is visible on secondary seals. The fix is procedural: faces handled by the edges only, elastomers lubricated with a compatible lubricant, gland bolts torqued in a cross pattern, and the installation dimension measured rather than estimated.
Cause 2: Dry Running and Starved Faces
A mechanical seal runs on a microscopic fluid film between the faces, typically a fraction of a micron thick, and that film is the lubricant and the coolant at the same time. Anything that removes it destroys the seal in minutes or seconds: a loss of prime, a suction valve closed or strainer blocked while the pump runs, dead-heading against a closed discharge valve long enough to boil the fluid at the faces, a flush line that is plugged or was never opened, or cavitation starving the seal chamber. The signature is a squeal or a puff of vapor from the seal area during the event, followed by a leak that was not there before. The confirming evidence is on the faces themselves: heat discoloration, thermal cracking of the hard face, and blistering of carbon. The fix is the seal plus the cause: restore the supply of fluid to the seal chamber and remove whatever starved it, or the replacement seal repeats the failure on the first bad day.
Cause 3: The Faces Tell the Story
After removal, the faces are the most honest witness in the pump, and reading them is a core diagnostic skill. A hard face with a network of fine cracks has suffered thermal shock, usually from dry running or a sudden quench. A carbon face with blisters has seen flashing: fluid vaporizing between the faces and exploding the carbon binder. Deep circumferential scoring means solids have been through the interface, which means the flush plan or the process filtration is not doing its job. A wide, shiny, perfectly even track with minimal wear means the seal ran correctly and the leak came from somewhere else, usually a secondary seal or a gasket, which redirects the whole diagnosis. A face worn to one side indicates cocking from uneven gland torque or a bent stationary seat. Every replacement decision should follow a face inspection; a seal thrown away unread is the diagnosis thrown away with it.
Cause 4: Chemical Attack on Secondary Seals
The faces get the attention, but many leaks come from the elastomers and secondary seals around them. An O-ring incompatible with the pumped fluid swells, hardens, cracks, or dissolves to a sticky residue, and the leak path opens at the gland or the sleeve rather than at the faces. The signature is a weep that tracks along the shaft or drips from the gland plate, often slow and persistent, and often worse after shutdown when thermal contraction opens the degraded seal further. The confirming check is the removed O-ring itself: compare its elasticity and dimensions against a new one, and check the compatibility of the elastomer grade against the actual fluid, including cleaning and flushing chemicals that see the seal intermittently. The fix is the correct elastomer for the chemistry, PTFE-encapsulated or perfluoroelastomer where standard grades fail, and a note in the maintenance record so the wrong material is not ordered again.
Cause 5: The Pump Is Attacking the Seal
A mechanical seal needs a stable shaft to seal against, and when the machine moves, the seal pays for it. Misalignment between pump and driver, a bent shaft, worn bearings that let the shaft orbit, excessive shaft end play, and pipe strain loading the casing all feed vibration and runout into the seal chamber, and the faces open and close with every revolution. The signature is a leak that accompanies vibration and noise, often intermittent and load-dependent, and a seal that fails repeatedly at short intervals while the faces show edge wear or fretting on the sleeve. The confirming checks are measurements: shaft runout at the seal chamber with a dial indicator, coupling alignment, bearing condition and end play, and the flange loosening test for pipe strain. The fix order matters: correct the machine first, then fit the new seal. Installing a seal into a shaking pump is buying the same failure again.
Cause 6: Operating Outside the Seal's Envelope
Every seal has a design envelope of pressure, temperature, speed, and fluid, and a pump that has been moved outside it will leak regardless of workmanship. The common excursions on chemical duty are pressure spikes from water hammer or valve slamming, vaporization at the faces when the seal chamber pressure drops near the fluid's vapor pressure, fluid temperature beyond the elastomer's limit, and a solids content the seal was never selected for. The signature is a leak that correlates with process events rather than with time: it leaks during startup transients, at high throughput, or only when the fluid is hot. The confirming check is the duty data: compare actual seal chamber pressure and temperature against the seal's rated limits, and review what changed in the process before the leaks began. The fix is a seal matched to the real duty, a support system that controls the chamber environment, or a process change that removes the excursion.
Leak Pattern Quick Reference
| Leak pattern | Most likely cause | First check |
|---|---|---|
| Leaks immediately after seal change | Installation damage | O-rings, gland bolt torque, installation dimension |
| Squeal then leak; discolored faces | Dry running / starved faces | Prime, flush line, strainer, operating procedure |
| Slow weep at gland or sleeve | Elastomer chemical attack | Removed O-ring condition vs compatibility table |
| Leak with vibration; repeat failures | Machine condition (alignment, bearings, runout) | Dial indicator runout, alignment, bearing check |
| Leak tied to process events | Operating outside seal envelope | Chamber pressure and temperature vs rating |
| Scored faces, gritty residue | Solids in the seal interface | Flush plan, strainer, process filtration |
Step-by-Step Repair Procedure
- Contain the leaked fluid and put the pump in a safe state: electrical lockout, valves closed, casing drained and flushed.
- Record the leak pattern from the classification step and photograph the seal area before disassembly.
- Remove the seal and lay the parts out in order of disassembly; nothing goes in the bin until it has been read.
- Inspect the faces for the damage patterns described above, and inspect every O-ring, gasket, and wedge for chemical attack.
- Inspect the hardware: shaft or sleeve for scoring and fretting, gland plate for distortion, O-ring grooves for corrosion and burrs, springs or bellows for fatigue and deposits.
- Measure before reassembly: shaft runout at the seal chamber, end play, and the correct installation dimension for the replacement seal.
- Assemble with clean hands and clean tools: faces untouched and unmarked, elastomers lubricated with a compatible lubricant, gland bolts torqued evenly in a cross pattern.
- Correct the cause found in diagnosis, whether that is alignment, a flush line, an elastomer grade, or an operating practice, before the pump is restarted.
- Restart under observation: verify prime, open the flush, bring the pump up to duty, and watch the seal through the first thermal cycle.
When the Fix Is a Different Seal, or No Seal
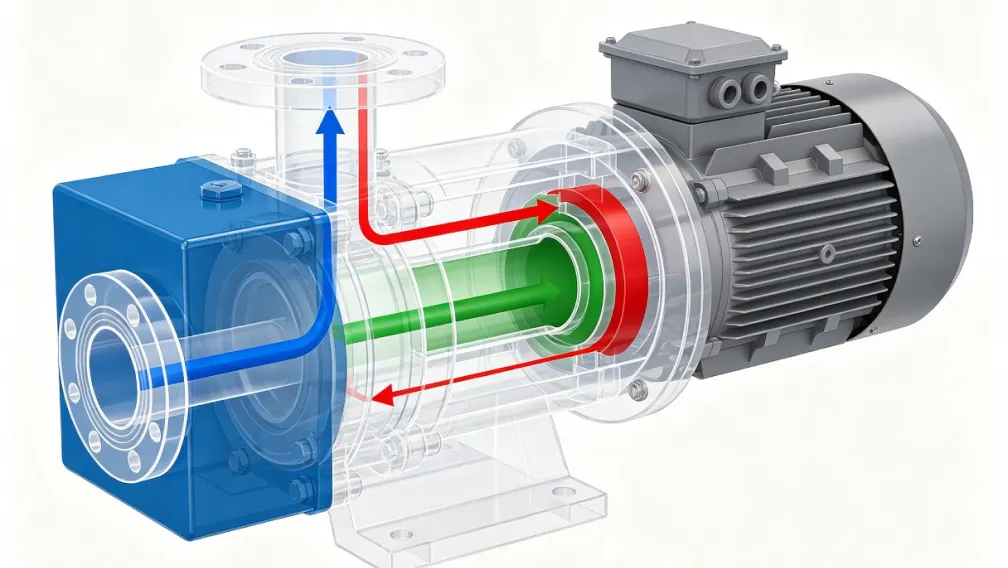
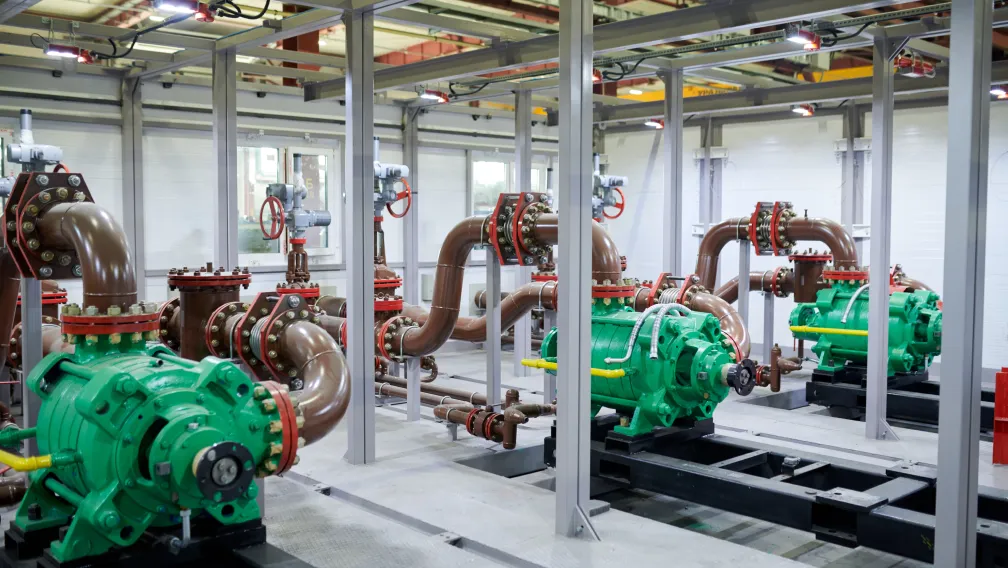
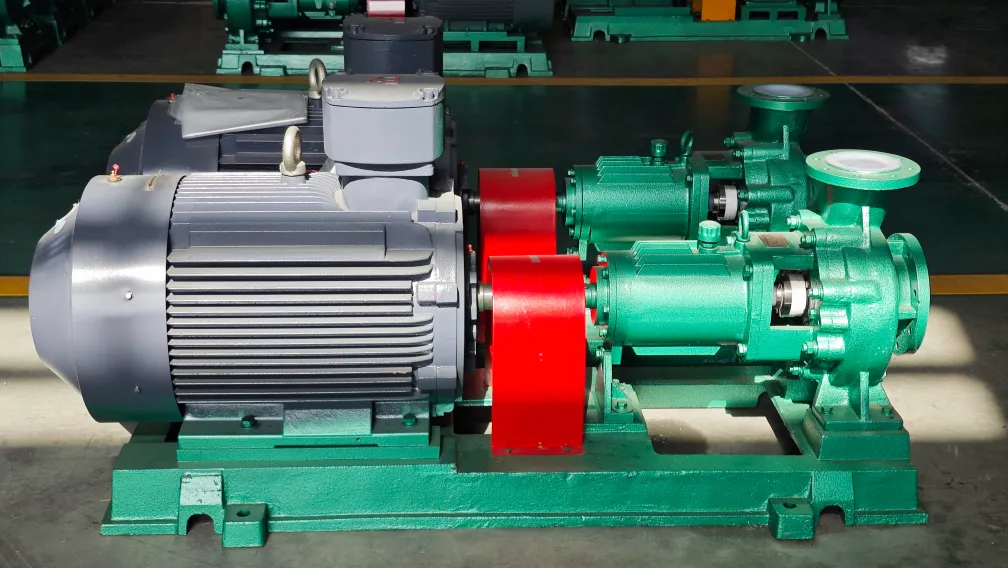
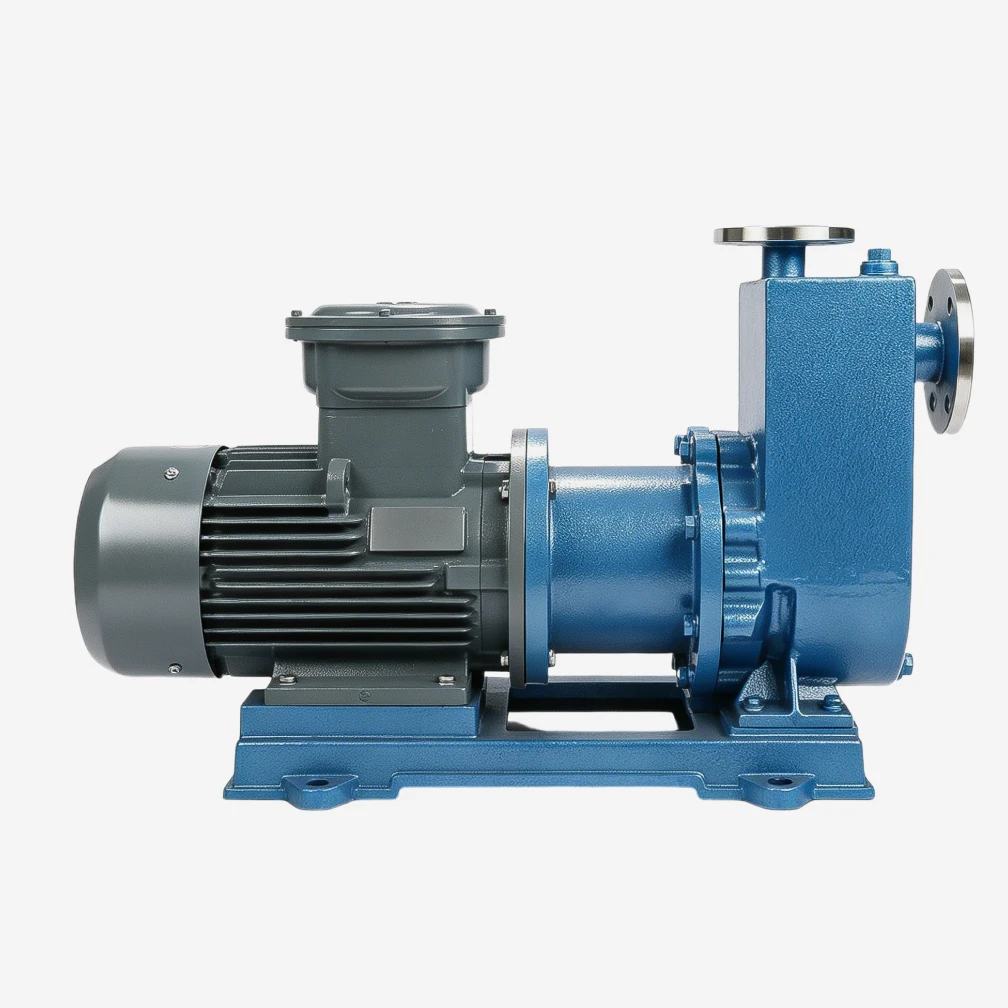
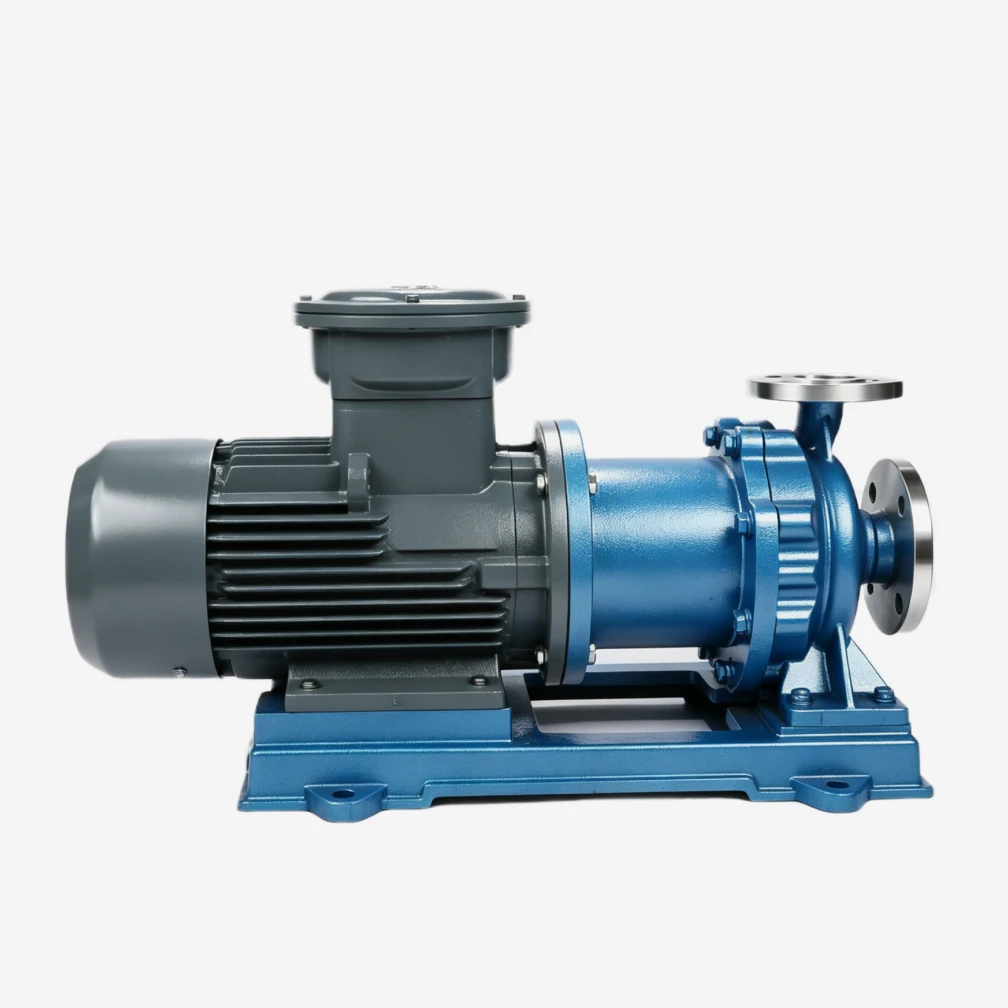
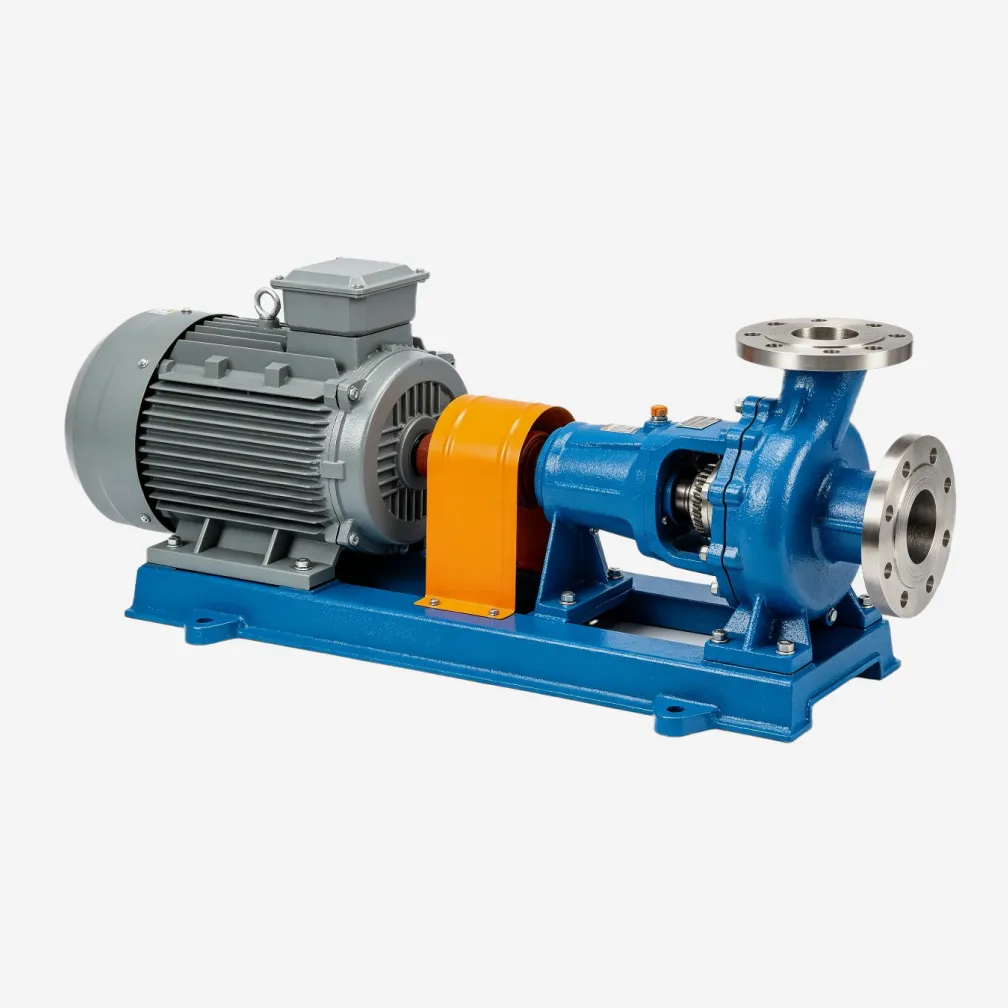
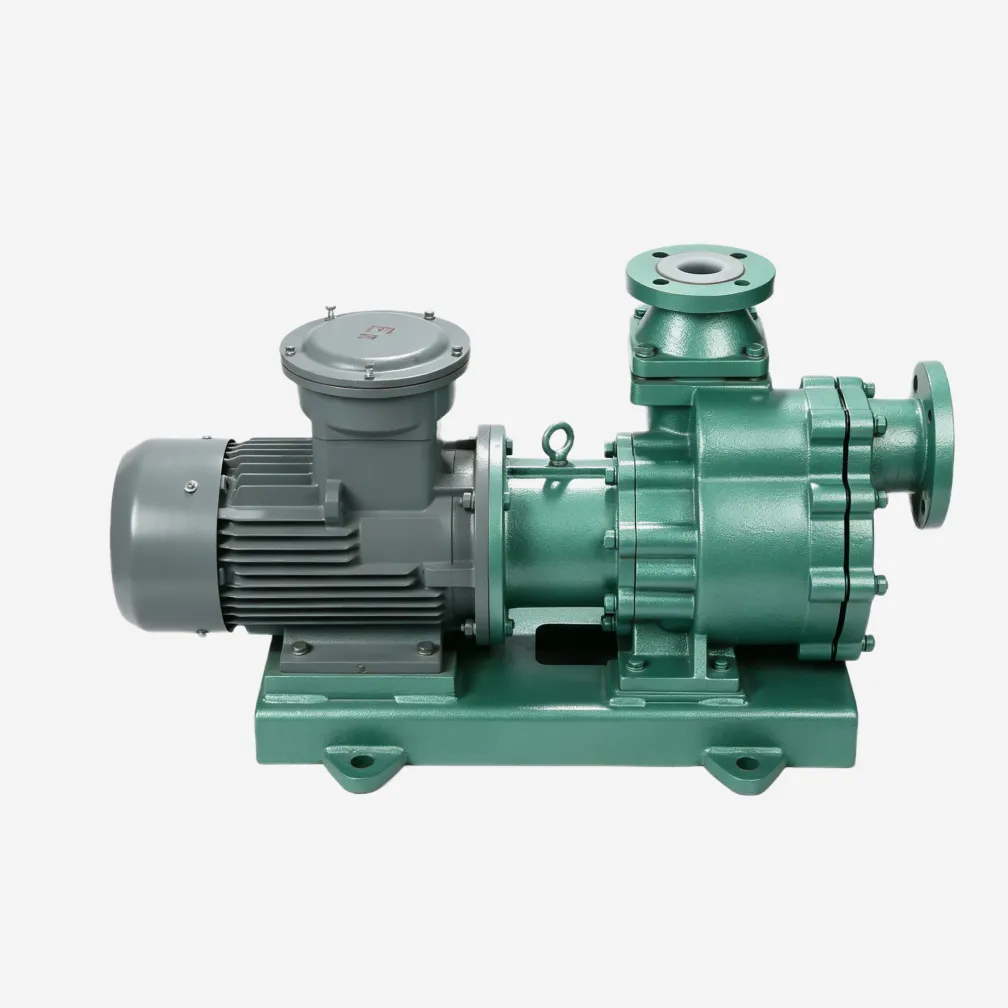
A seal that fails once has a cause; a seal that fails repeatedly under the same conditions is telling you the seal concept does not fit the duty. The upgrade ladder is well established: a better flush plan to control the seal chamber environment, harder face combinations and chemically superior elastomers for aggressive fluids, or a double mechanical seal with a barrier fluid for hazardous service where any leak to atmosphere is unacceptable. At the top of the ladder is removing the seal entirely. A magnetic drive pump has no shaft penetration and no dynamic seal to leak, which is why it is the standard answer for toxic, high-value, or environmentally regulated fluids where a seal leak is a reportable event rather than a maintenance task. For duties that stay within the envelope of a well-specified sealed pump, the standard ranges of fluoroplastic-lined centrifugal pumps with correctly selected seals remain the economical choice, and slurry duties with solids that would destroy faces in days belong on UHB-ZK slurry pumps designed for abrasive service from the start.
Conclusion
A mechanical seal leak is solved by classification, not by replacement. Read the pattern before disassembly, read the faces after it, measure the machine, and correct the cause before the new seal goes in. Most repeat failures trace back to a skipped step in that sequence. YFTEL supports seal selection, material matching, and failure analysis across its chemical pump range: send us the leak pattern, the fluid, and the operating data, and our engineers will identify the cause and the right seal or sealing concept for the duty.
-

YFTEL Pumps
Fluid Engineers & Technical Support, YFTEL Pump
YFTEL is a chemical pump manufacturer based in Hangzhou, China, with a 26,000 m² production base in Hangzhou, China, with a 26,000 m² production base in Anhui. Using the CAS-patented Fluoroplastic Alloy material, we produce 300+ models of corrosion-resistant pumps, valves and piping, exported to 30+ countries.