
 English

Won't Prime Means the Air Is Winning
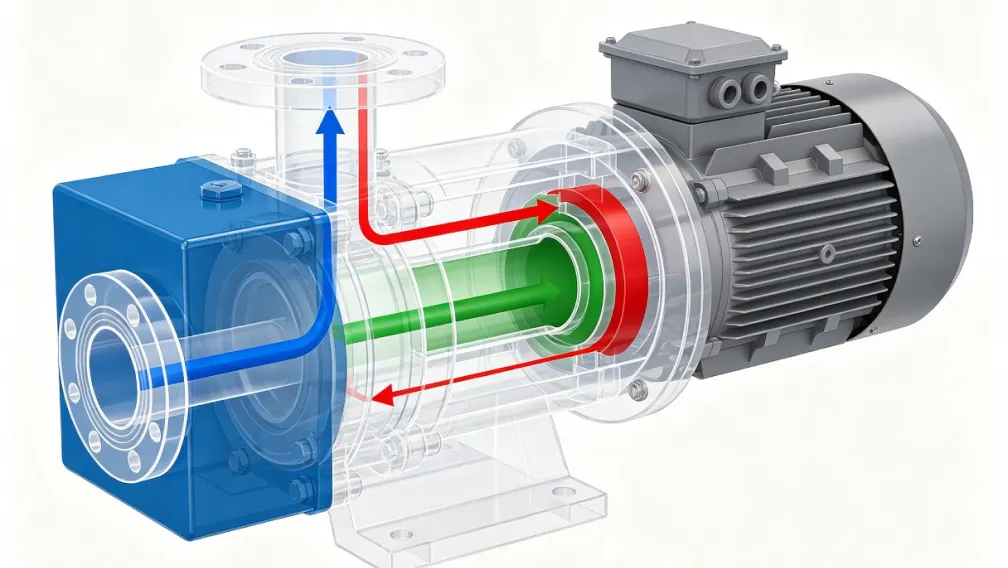
A self-priming pump primes by doing one job: evacuating the air from its suction line. It recirculates a retained charge of liquid inside the casing, entrains air from the suction pipe into that liquid, and expels the mixture through the discharge until the suction line is empty of air and full of fluid. When a pump "won't prime", it is recirculating its charge forever and the air is staying put. The cause is always one of a short list: not enough liquid to work with, air leaking in as fast as the pump can remove it, a lift or line the pump cannot evacuate, internal wear that lets the recirculation leak away, or air that has no exit. This guide works through each cause with its confirming check and fix, then gives the correct priming procedure.
First Confirm the Fundamentals
Before any diagnosis, verify rotation and speed, because both masquerade as priming failure. A three-phase motor wired to run backward produces a pump that sounds busy and moves nothing; check rotation against the casing arrow with the coupling guarded, and correct at the starter. A pump running slowly, a slipping belt, a VFD set low, or a wrong-pole motor, may never develop the velocity the priming cycle needs; compare actual speed against the nameplate. Only after rotation and speed are confirmed does the rest of this diagnosis apply.
Cause 1: Not Enough Liquid in the Casing
The pump primes with the liquid already inside it, and a casing that was never filled, or has drained since the last run, has nothing to recirculate. The signature is a pump that churns noisily with dry-start sounds and never quiets into the smooth tone of established prime. The check takes a minute: remove the priming plug and verify liquid up to the fill level. The fix is to fill the casing completely through the priming port and, on installations that drain between runs, find out why: a leaking foot valve, a weeping casing gasket, or a drain left open. A pump that needs re-filling before every start has a leak, and the leak will also admit air during the priming cycle.
Cause 2: Air Leaks on the Suction Side
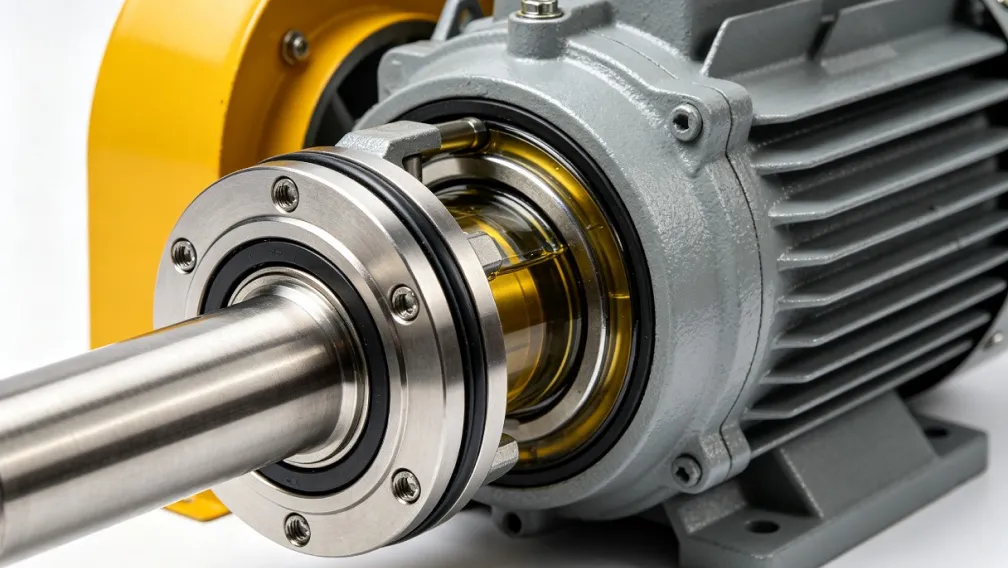
This is the most common cause and the most underestimated. During priming the suction line sits under vacuum, so any imperfect joint admits air continuously, and the pump removes air only for the leak to replace it. The suspect list is physical: flange gaskets, threaded joints, valve packing, a cracked suction pipe, fittings below liquid level in the supply tank, and, often forgotten, the pump's own mechanical seal, which sees vacuum during priming and can sip air inward past its faces. The confirming checks are direct: inspect every joint, apply soapy water or shaving foam to fittings while priming and watch for bubbles being drawn in, or isolate sections and repeat the prime attempt. On the seal, a telltale is a pump that primes but loses prime at shutdown, or priming time that has lengthened as the seal has aged. The fix is remake the joints with fresh gaskets and sealant where appropriate, replace the cracked section, and renew a suspect seal.
Cause 3: The Lift or the Line Is Too Much
Every self-priming pump has a rated suction lift, and physics caps all of them near eight metres at sea level on cold water, less on hot or volatile fluids, and less again at altitude. Beyond the rated lift the pump evacuates the line down to a pressure where the fluid vaporizes, and the prime never completes. Less obvious is the line itself: an oversized suction pipe holds a large volume of air that must all be removed, and a long line with many fittings extends priming time until the recirculating charge heats up and begins to vaporize, ending the attempt. The signature is a pump that partially primes, sounds close, then loses it, or that primes in winter and fails on hot afternoons. The confirming check is arithmetic: measure the static lift, add the friction loss at priming conditions, and compare against the pump's rated lift and priming time. The fixes are to lower the pump or raise the liquid level, keep the suction line to the pump's own inlet size rather than oversizing it, shorten and simplify the run, and shade or cool lines on hot service.
Cause 4: Foot Valve and Strainer Trouble
The foot valve holds the suction line full between runs, and a foot valve that leaks turns every start into a full re-prime of the entire line, which the pump may or may not survive before its charge overheats. A foot valve or strainer that is fouled starves the prime: the pump evacuates to the blockage and stalls there. The signature is long priming times that grow over months, successful primes only some of the time, or priming that works after the line has been manually filled but not otherwise. The confirming check is inspection: lift the foot valve, clean the strainer, and check the valve flapper or seat for wear, warping, and debris lodging it open. The fix is cleaning or replacement, plus a suction line design that does not depend entirely on the foot valve where maintenance access is poor.
Cause 5: Internal Wear Lets the Recirculation Leak Away
Priming depends on tight internal clearances: the gap between impeller and wear plate or cutwater is what forces the liquid to recirculate through the priming chamber rather than short-circuiting back to the suction. As those clearances wear open, the pump's air-handling ability fades, and priming time stretches from seconds to minutes to never. The signature is a pump with service hours that primes more slowly every season while everything external checks out. The confirming check is measurement: open the casing and measure the impeller clearances against the manual's wear limits. The fix is restoring the clearances, by adjustment where the design allows it or by replacing the wear plate and worn components where it does not. On fluoroplastic-lined self-priming pumps, also inspect the lining at the recirculation passages for erosion and deformation that opens internal leak paths.
Cause 6: The Air Has Nowhere to Go
Priming moves air through the pump and out the discharge, so a discharge path that is blocked or pressurized stops the cycle as surely as a suction leak. The classic cases are a closed discharge valve with no vent, a discharge check valve stuck shut, and a discharge head so high that the pump at priming conditions cannot push the air column out against it. The signature is a pump that pressurizes briefly and stalls, with pressure gauge readings that rise and plateau. The confirming check is to crack a vent or drain on the discharge side and watch whether air escapes and the prime completes. The fix is procedural or mechanical: prime against an open or vented discharge, free or replace the stuck check valve, and on high-head installations fit an air-release arrangement at the high point.
Priming Failure Quick Reference
| Symptom | Most likely cause | First check |
|---|---|---|
| Churns noisily, never quiets | No liquid in casing | Priming plug, fill level, foot valve leakage |
| Primes sometimes, long times growing | Suction air leak | Joints, valve packing, mechanical seal under vacuum |
| Primes in cool weather, fails hot | Excess lift or long oversized line | Static lift and friction vs rated lift |
| Must re-fill before every start | Foot valve or casing leak | Foot valve seat, casing gasket, drains |
| Older pump primes slower each season | Internal wear | Impeller-to-wear-plate clearance |
| Pressure rises then plateaus | Blocked discharge path | Vent, discharge valve, check valve |
| Sounds busy, moves nothing, new install | Wrong rotation or low speed | Rotation arrow, actual rpm |
The Correct Priming Procedure
- Confirm rotation and speed before anything else.
- Fill the casing completely through the priming port until liquid stands at the fill level.
- Open the suction valve fully; verify the supply tank has adequate level over the suction inlet.
- Open or vent the discharge so displaced air can escape freely.
- Start the pump and let the priming cycle run; watch the discharge vent for air, then froth, then steady liquid.
- Once liquid flows steadily, close the vent and bring the discharge valve to duty position.
- If prime is not established within the pump's rated priming time, stop and diagnose rather than continuing to churn: extended dry cycling overheats the charge and the pump.
Conclusion
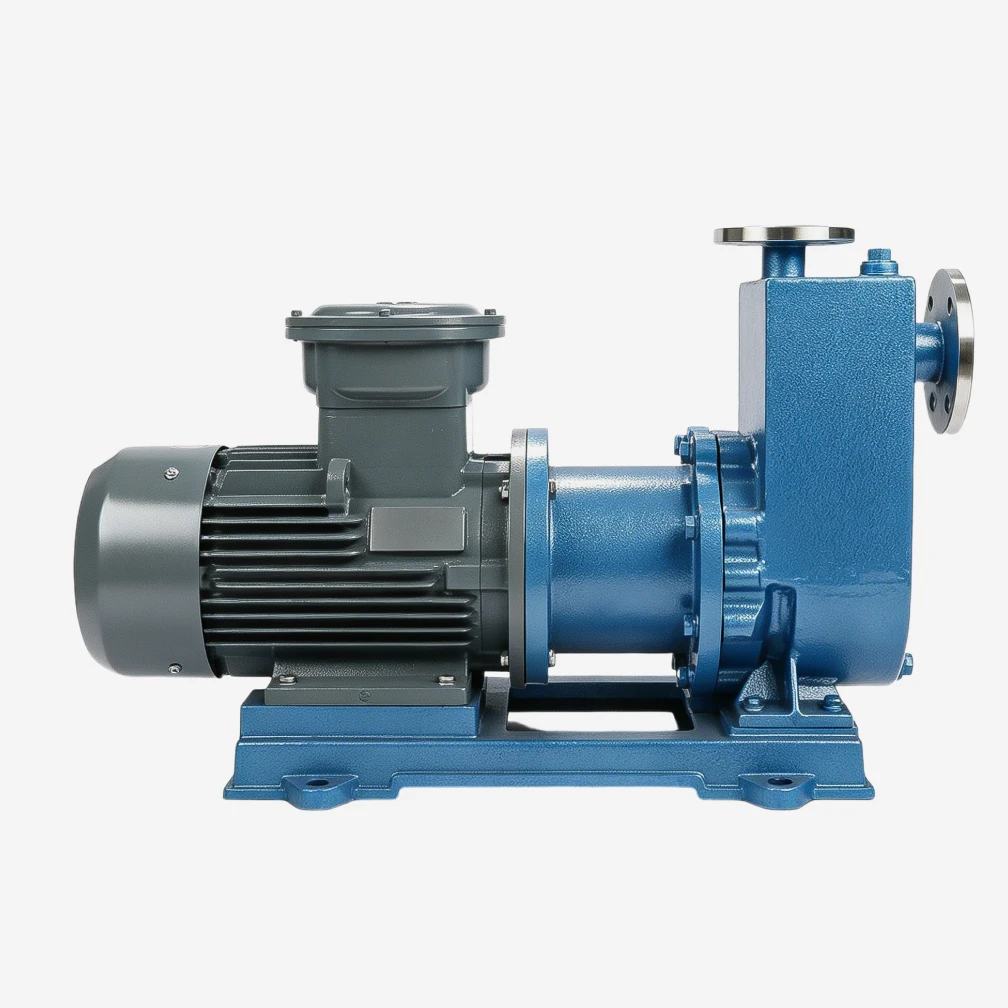
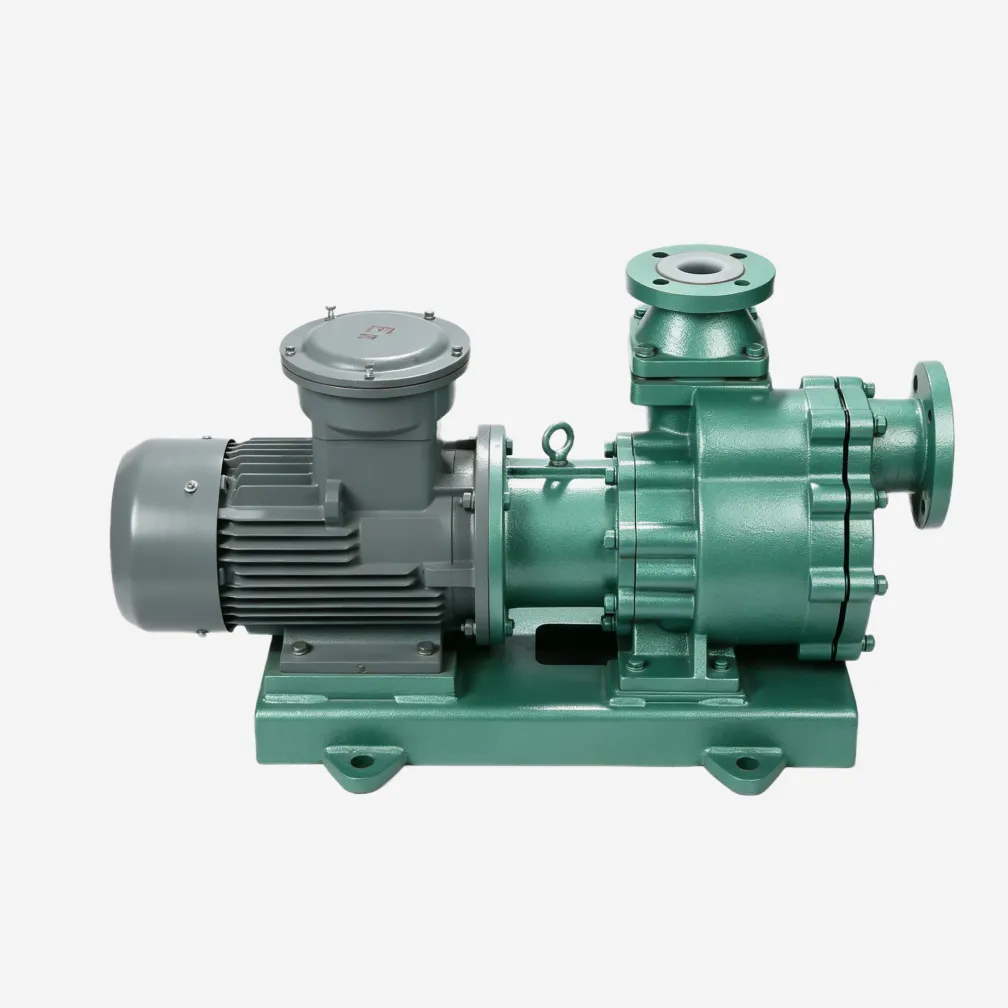
A self-priming pump that will not prime is almost always telling you one of six things: no fill, an air leak, too much lift or line, a foot valve problem, internal wear, or a blocked air exit. Work the list from the cheapest checks upward, and measure rather than assume. Self-priming designs built on fluoroplastic centrifugal pump hydraulics, including magnetic drive self-priming variants in the magnetic pump family, follow exactly this priming physics. YFTEL engineers diagnose priming problems from the installation data: send us the lift, the line layout, and the priming time you are seeing, and we will name the cause and the fix.
-

YFTEL Pumps
Fluid Engineers & Technical Support, YFTEL Pump
YFTEL is a chemical pump manufacturer based in Hangzhou, China, with a 26,000 m² production base in Hangzhou, China, with a 26,000 m² production base in Anhui. Using the CAS-patented Fluoroplastic Alloy material, we produce 300+ models of corrosion-resistant pumps, valves and piping, exported to 30+ countries.